WELCOME TO MY BLOG & DIY TUTORIALS
By submitting this form you agree to receive SMS and Emails from Uri Designs Studio

How To Crochet A Pumpkin Tutorial
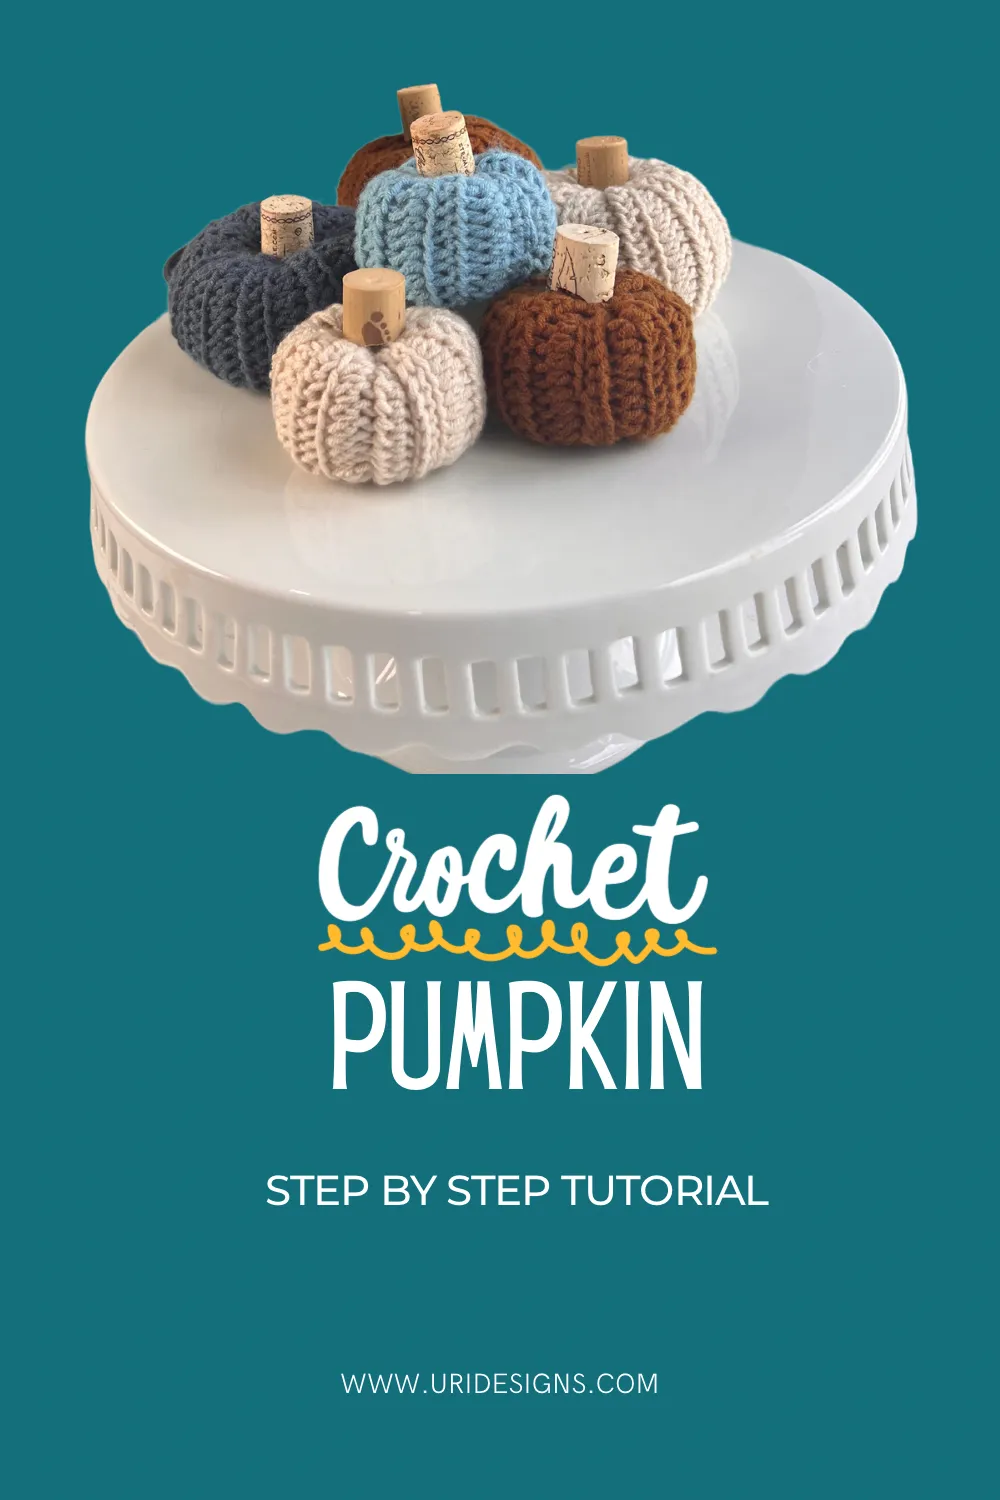
I love fall; it's a cozy season that inspires my creativity. Crocheting your own pumpkins is a fun and unique way to bring a warm, personal touch to your home.
With these easy instructions, you can make pumpkins in two different sizes. You can adjust the size by simply increasing or decreasing the number of foundation chains to make them taller, or by changing the number of rows to make them wider.
This pattern is quick and simple, and one of my favorite parts is the texture created by working in just the front loops of the stitches. This technique gives the pumpkins a beautiful, ridge-like look that mimics their natural shape.
These little creations are not only cute but also fun to make. Once you get the hang of the pattern, you can make a whole collection in no time. Plus they make fantastic gifts for family and friends!
So, grab your yarn and hook, and let’s make some crochet pumpkins!
You can also visit my YouTube channel for the complete tutorial: click here

ABBREVIATIONS:
ch - Chain
hdc - Half Double Crochet - USA Terms (htr Half Trebles UK Terms)
sl st - Slip Stitch
MATERIALS:
Yarn (of your choice)
Crochet Hook (Recommended for Yarn)
Stuffing
Tapestry Needle
Scissors
Corks / Cinnamon Sticks or Wood Sticks.
INSTRUCTIONS:
Slip knot to start.
Foundation Row - Chain (15) for the smaller one (21) for the bigger.
Row #1 Start on the second chain. (14) hdc for the small one. (20) hdc -Big one.
Row #2 (2) ch, turn your work around, (13) hdc - small one. (19) hdc- Big one.
Row #3 Repeat row 2 (12) times (total of 14 rows for the small and 20 rows for the big one) (Image 1)
Attach the last row with the foundation row, with a slip st and sc along the way until the end. This will create a cylinder. Don’t fasten off. (Image 2)
Close one end using a yarn needle, don’t cut the yarn, then put the yarn needle through the other end. (Image 3) & (Image 4)
Stuff the pumpkin with poly-fill. Close the end using the yarn needle, cut the yarn and fasten off.
(Image 5) (Image 6)
Add the steam; you can use cork, cinnamon sticks or wood sticks.
Use hot glue to secure it on the top. (Image 7)


